Aquatic Entry: Accessible Guidelines
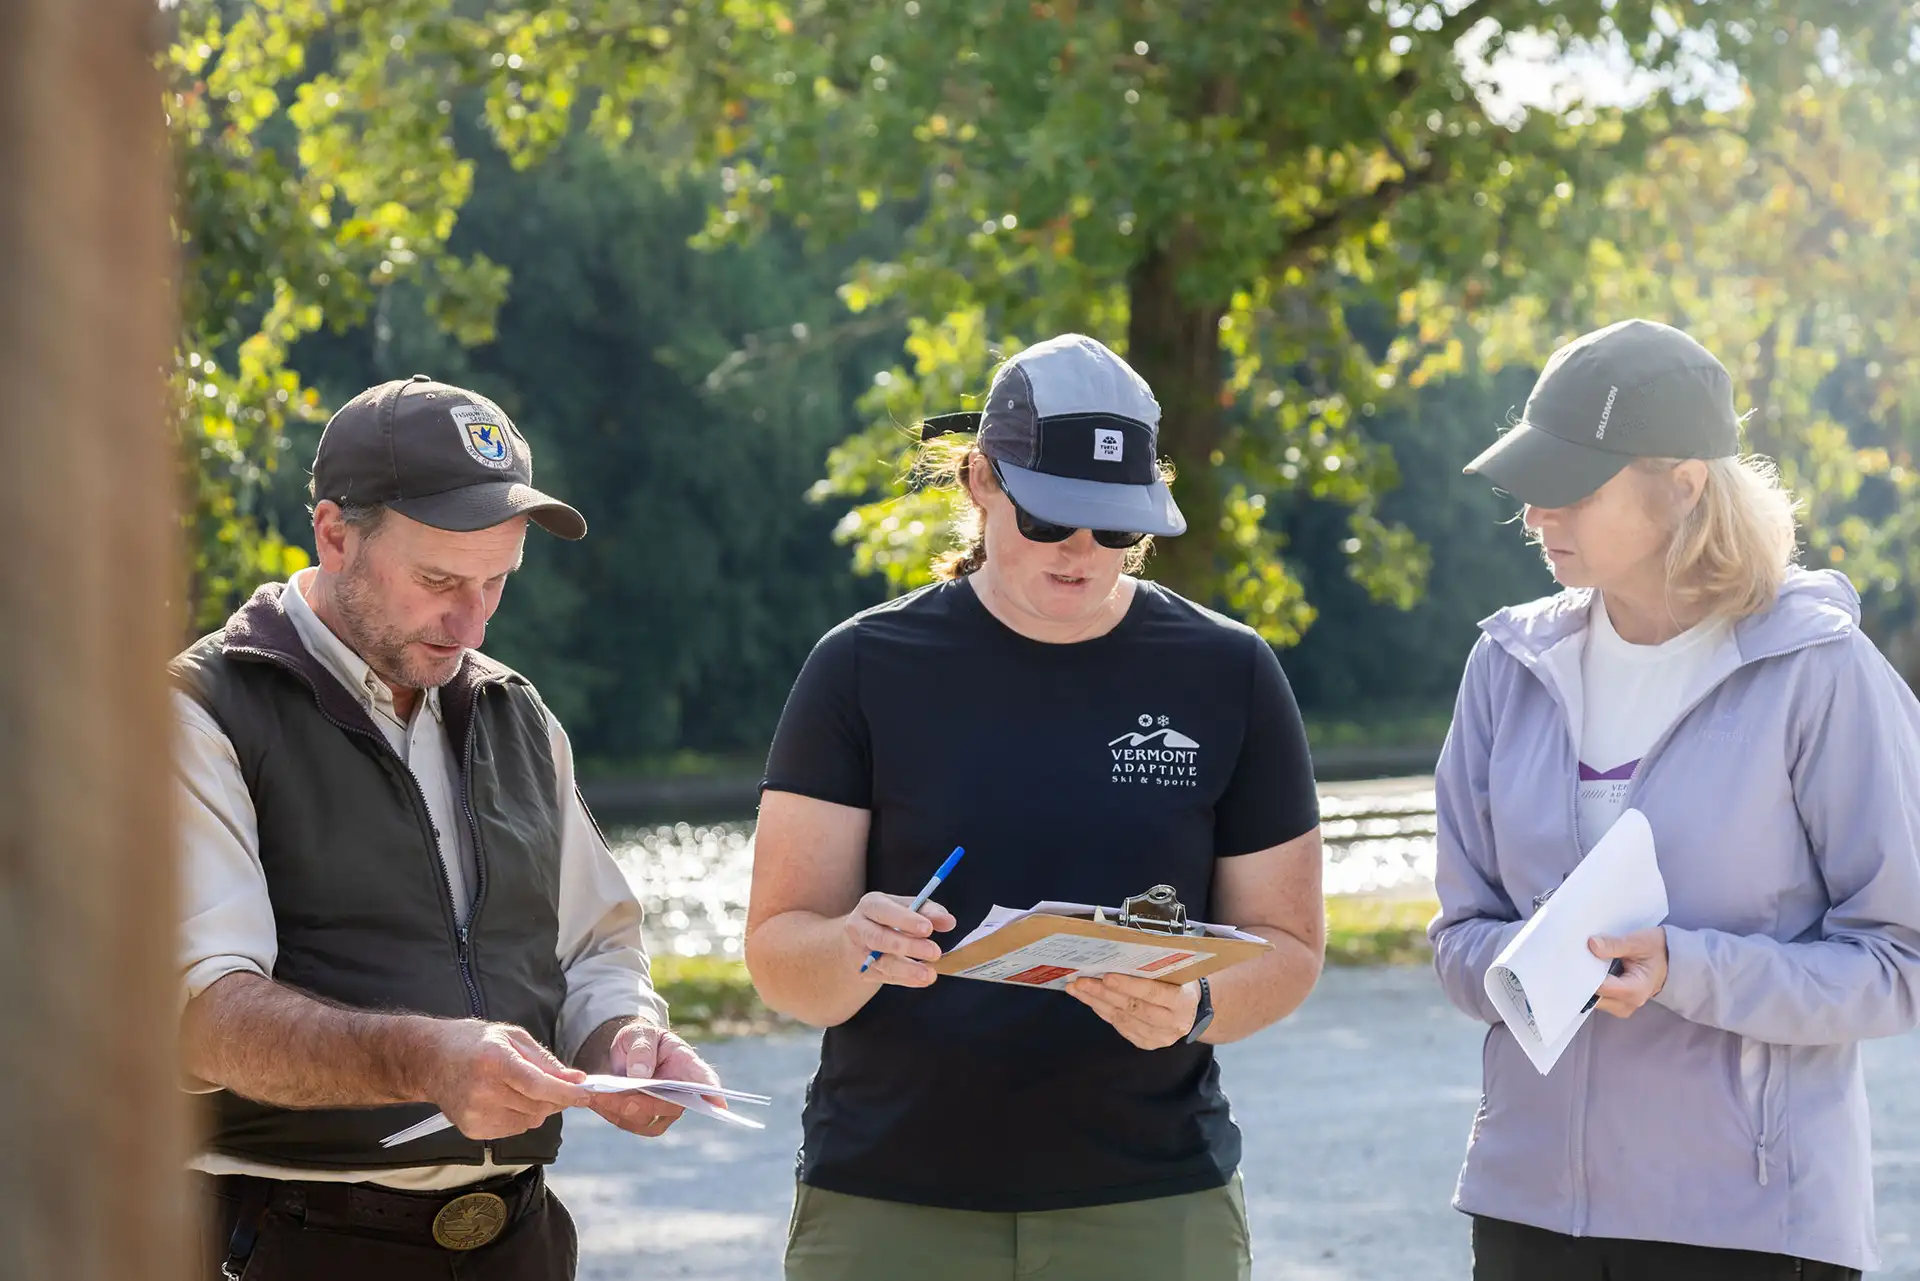
Photo credit: Sevenpair Studios

A guide for trail managers and community members
This page distills the most important lessons from accessibility guidelines, trail builder experience, and input from adaptive paddlers. It’s designed to help trail managers and community members plan, build, and maintain aquatic entry points that are safe, practical, and welcoming for all.
Project Phases
Building an accessible aquatic entry point involves more than installing a ramp or dock — it’s a multi-phase process, just like trail building. The Professional Trail Builders Association outlines a “trail life cycle” that applies broadly to access projects. You can read about the phases in detail here.
For aquatic sites, a few additional considerations come into play:
- Community Input & Partnerships: Engage paddlers with disabilities, local outfitters, and groups that support people with disabilities early on. Their experience ensures the design matches real-world needs.
- Planning & Assessment: Look at water level fluctuations, erosion, ice, and shoreline regulations. Consider how the site will be used. Is it a short out-and-back paddle, or a river trip that requires shuttling?
- Design, Permitting & Construction: Choose an entry type that fits the site and user needs, while coordinating with permitting agencies for shoreline or in-water work.
- Maintenance & Management: Plan for seasonal upkeep of docks, mats, and paths, as well as long-term staffing and resource needs.
Best Practices
Designing an accessible aquatic entry point means balancing technical standards with the lived experience of paddlers. While each site is unique, several themes emerged across a survey conducted by the Northern Forest Canoe Trail (NFCT), accessibility focus groups, and conversations with trail builders. These best practices are shared below.
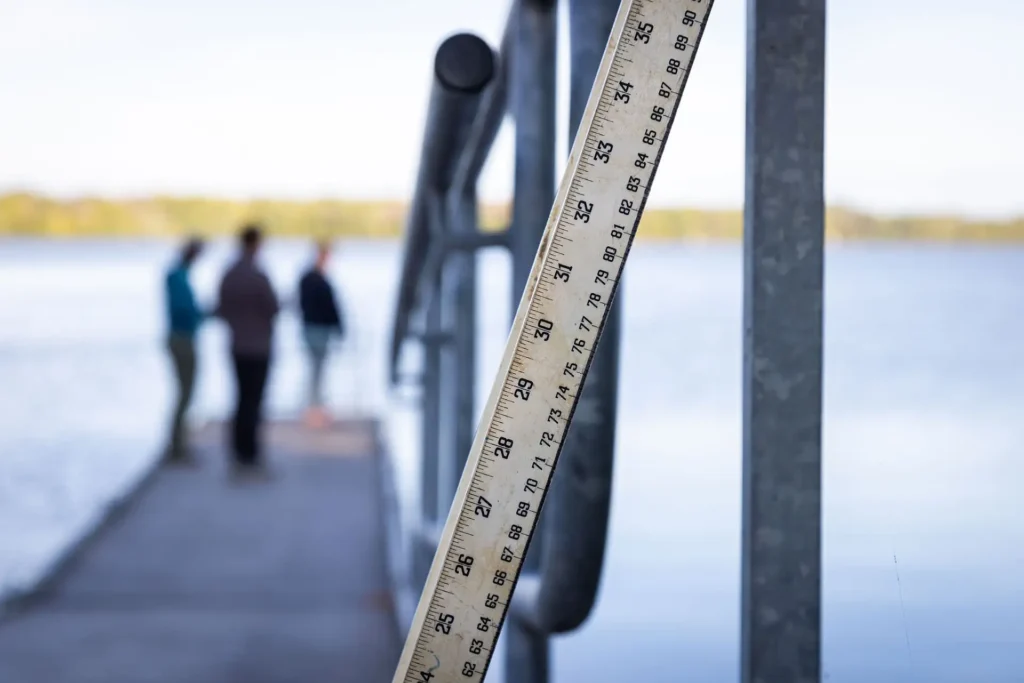
Photo credit: Sevenpair Studios
Site Selection
- Calm, uncrowded waters with limited fetch (distance across the water that can build big waves) are ideal, as well as sites suitable for “out and back” trips (ex. lakes, ponds, or slow-moving waters).
- Consider potential impacts of flooding (which can scour out gravel, for example, or deposit debris), and how “stable” a site is. River sites are often dynamic and change over time, making them less ideal for accessible launches.
- Riparian areas are sensitive, so land managers need to balance the impacts of installing extensive infrastructure (i.e. a ramp) vs. other approaches (such as steps) that limit the need for bank work and disturbance and meet the needs of most users.
Slopes and Surfaces
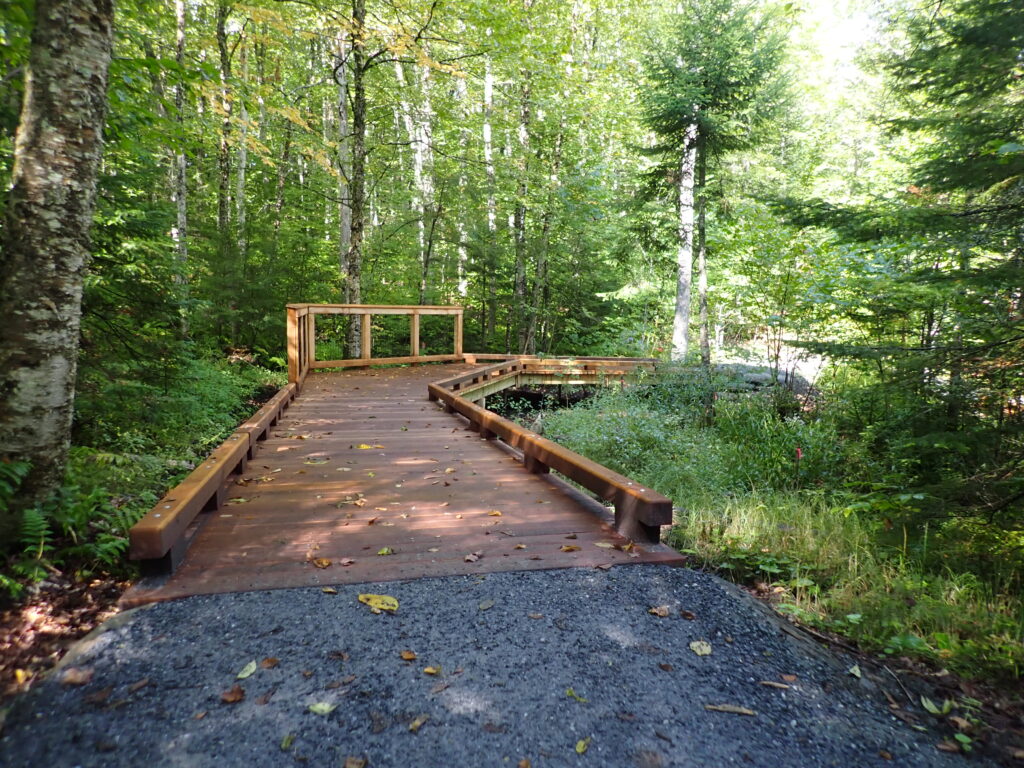
- A gentle, firm approach is the gold standard. A 5% grade to a firm beach works for nearly everyone; up to 10% may be acceptable with careful design.
- Packed gravel, crushed stone, or stabilized soils work well; loose sand and mud were among the top barriers identified in the NFCT survey.
- Mobi-Mats and modular products like Access Trax (modular version of Mobi-Mats) can create accessible paths across sand but require seasonal maintenance.
Transfer Points
- Flat, firm surfaces are essential for safe transfers from mobility devices into boats.
- One option: crib crushed stone with 6×6 timbers to create a stable pad at the shoreline. This provides a firm, level spot to transfer from a wheelchair.
- Benches, railings, and commercial transfer boards can provide additional stability and independence.
- Secure spots for storing wheelchairs or mobility devices while on the water.
Docks and Ramps
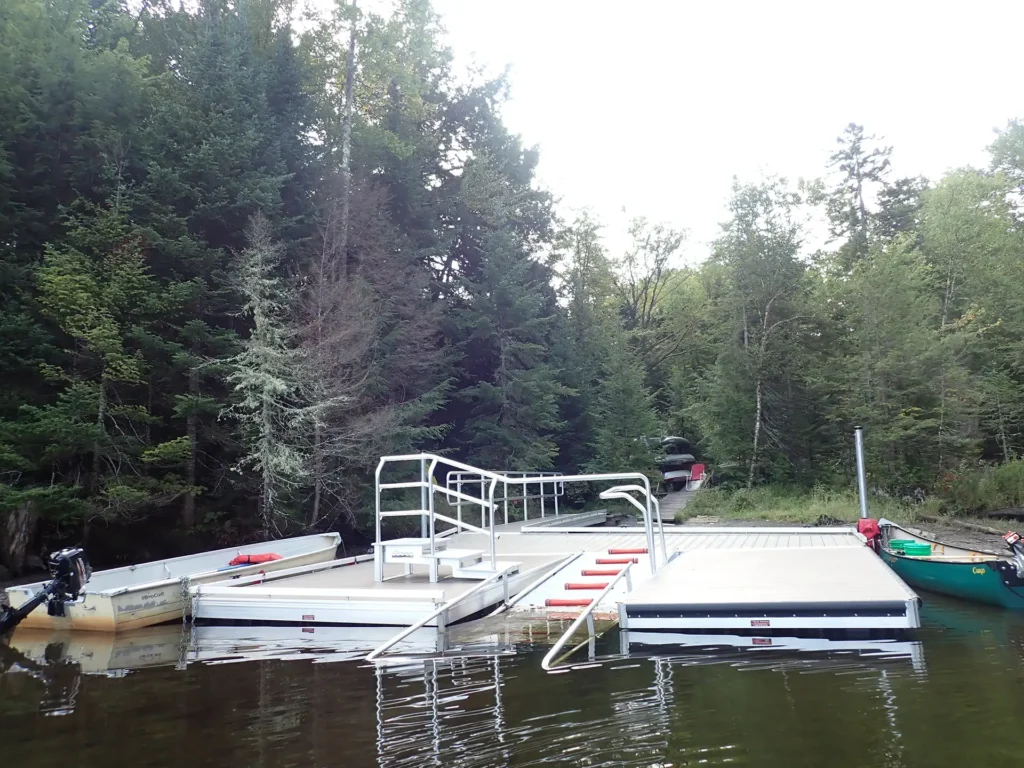
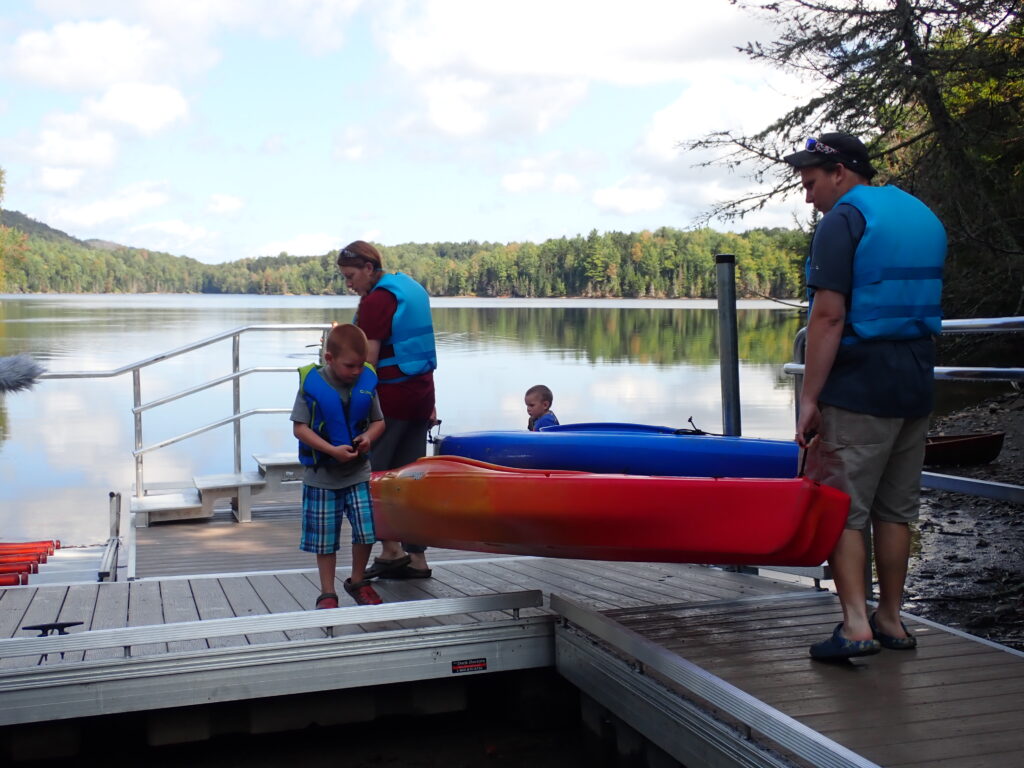
- Width and smooth transitions matter: a minimum of 3 feet, ideally 4, with continuous handrails.
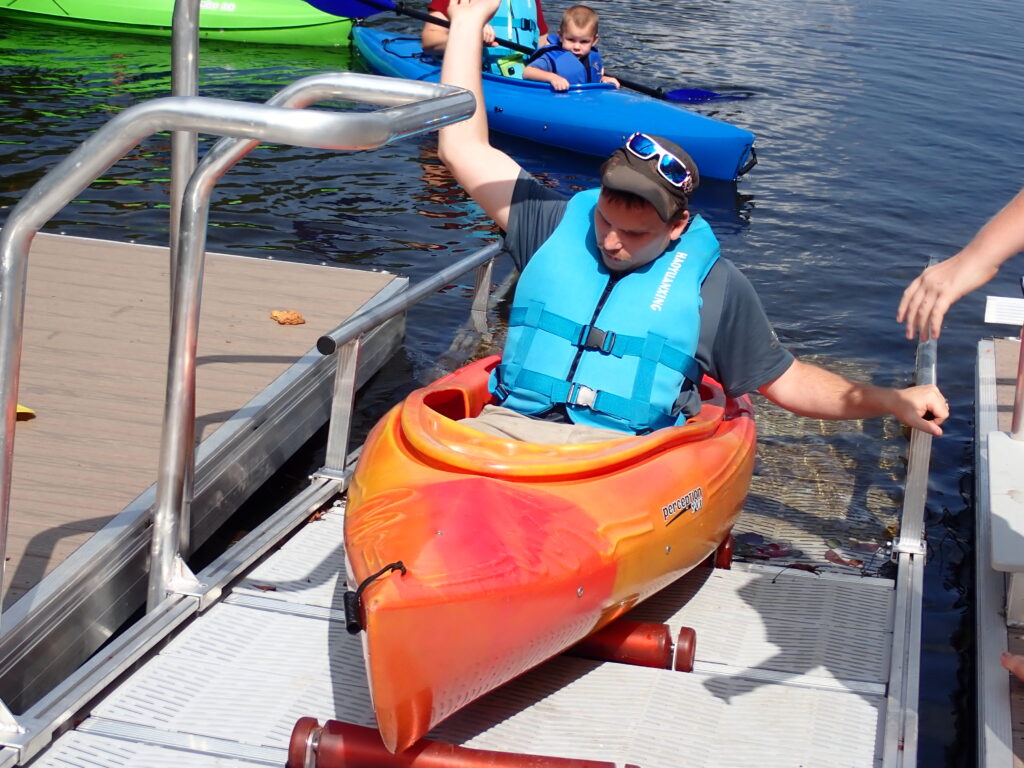
- Floating docks and systems like EZ Dock can support transfers. However, some struggle if they have limited arm strength or are launching canoes instead of kayaks.
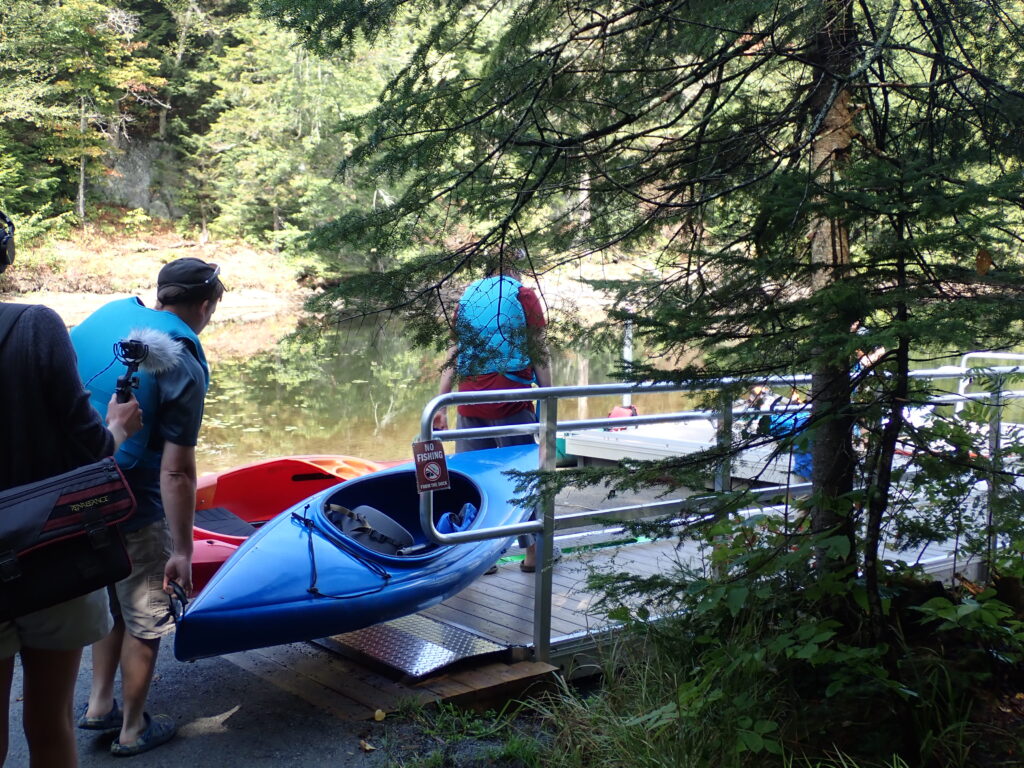
- Boat slides or cribbed landing pads are low-tech alternatives to an EZ dock.
- Where sites already have a concrete or asphalt boat launch, consider smoothing and hardening an adjacent area for hand-carry launches. A firm pad gives paddlers a safer place to launch canoes or kayaks. While not ideal for everyone, concrete launches can work if this adjustment is made.
- Consider how the water level varies throughout the year. Some ramps to docks, for example, can get quite steep at low water, and landing conditions can change.
Safety and Separation
- Keeping hand-carry launches separate from motor boat ramps avoids conflicts and improves safety.
- Low-rise steps with handrails can work for some, but steep or uneven steps are dangerous.
Parking & Connected Facilities
- The closer there can be designated parking for users with disabilities to the launch, the better.
- Access doesn’t end at the shoreline. Accessible restrooms, picnic tables with extended ends, and level tent platforms all make a site usable for more people. Consider picnic sites and campsites as destinations or stopping points on the trip.
- Restroom design is important. Not all portalets and outhouses that are deemed ‘acessible’ have all the features that are helpful. This includes handrails, adequate clearance on the pull side of doors, and oval or open-front toilet seats.
- Shade and seating were also requested, offering comfort and rest areas along the way.
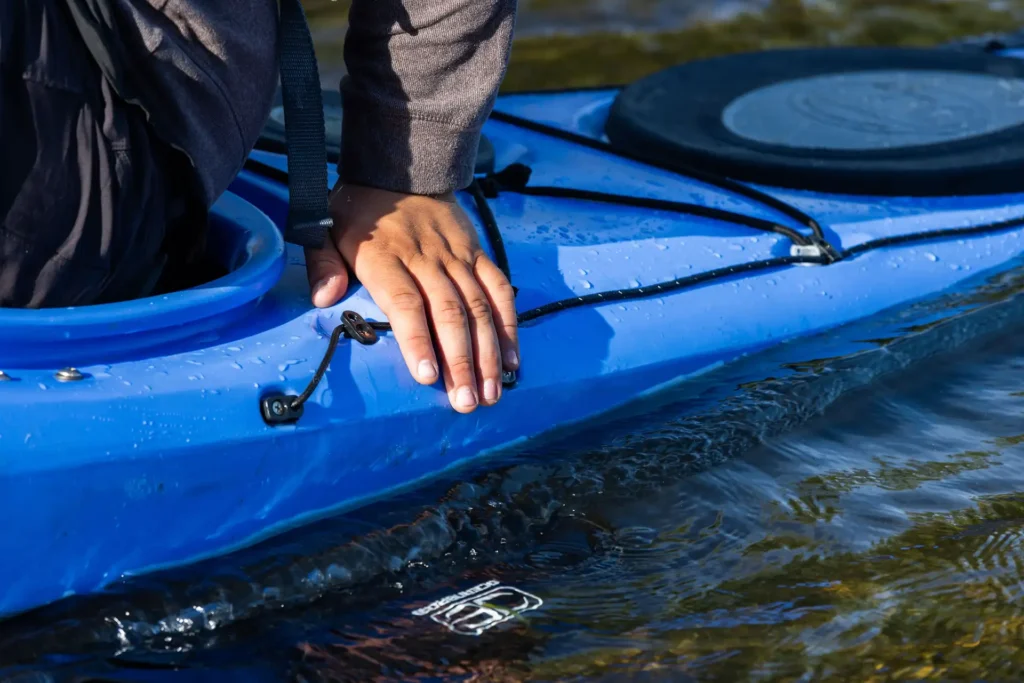
Case Study – John Dillon Park (NY): This site demonstrates how accessible design can create a complete outdoor experience. Beyond shoreline access, it offers fishing opportunities, accessible lean-tos, and even a pontoon boat designed for wheelchair users. Considering the full range of activities people want to enjoy (not just water entry) helps make projects truly inclusive.
Recommended Resource:
The U.S. Forest Service Trail Accessibility Guidelines (FSTAG) and related standards provide the baseline for accessible design — covering slopes, surfaces, parking, restrooms, signage, and other features that support the whole recreation experience. Aquatic sites should be planned with these same standards in mind, adapted for water access.
For comprehensive guidance on features like parking, restrooms, signage, and connected amenities, see the Forest Service Trail Accessibility Guidelines (FSTAG).
Costs
Budgeting for an accessible aquatic entry point depends on the type of infrastructure, the site conditions, and the level of ongoing maintenance required. Input from trail builders, surveys, and focus groups can help you prioritize what will have the biggest impact for the cost at your site.
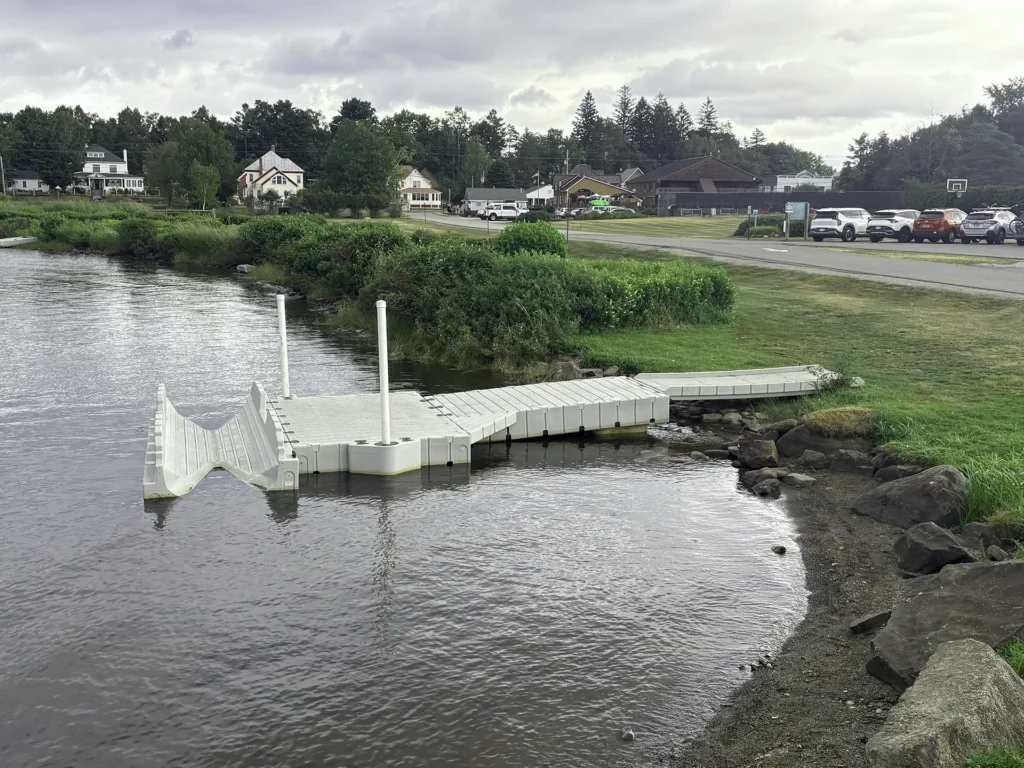
Photo credit: Sharon Plumb
Upfront Investments
- Modular Docks: Systems like EZ Dock can cost around $15,000. They provide stability for some users but require careful maintenance — rollers can clog, and they may not work as well for canoes or for paddlers with limited arm strength.
- Path Materials: Crushed stone and soil stabilizers are relatively low-cost options for creating firm approaches and transfer areas.
- Beach Mats: Mobi-Mats and modular products like Access Tracks are more affordable than docks and can be rolled out seasonally, though they may need to be adjusted with changing water levels.
Maintenance Costs
- Seasonal removal and reinstallation of docks or mats takes significant time and staff resources.
- Surfaces like gravel or crushed stone need regular inspection and repacking.
- Rollers and mechanical parts of docks must be kept clean and functional.
Strategic Site Selection
Trail builders emphasize that not every site needs to be fully outfitted. Assessing which locations offer the greatest benefit with the least environmental impact helps stretch budgets. In some cases, a well-packed gravel path and transfer pad may be sufficient; in others, a modular dock or mat system may be worth the investment.
Quick Wins
Simple, feasible actions can improve accessibility right away — some through infrastructure upgrades, others through program partnerships.
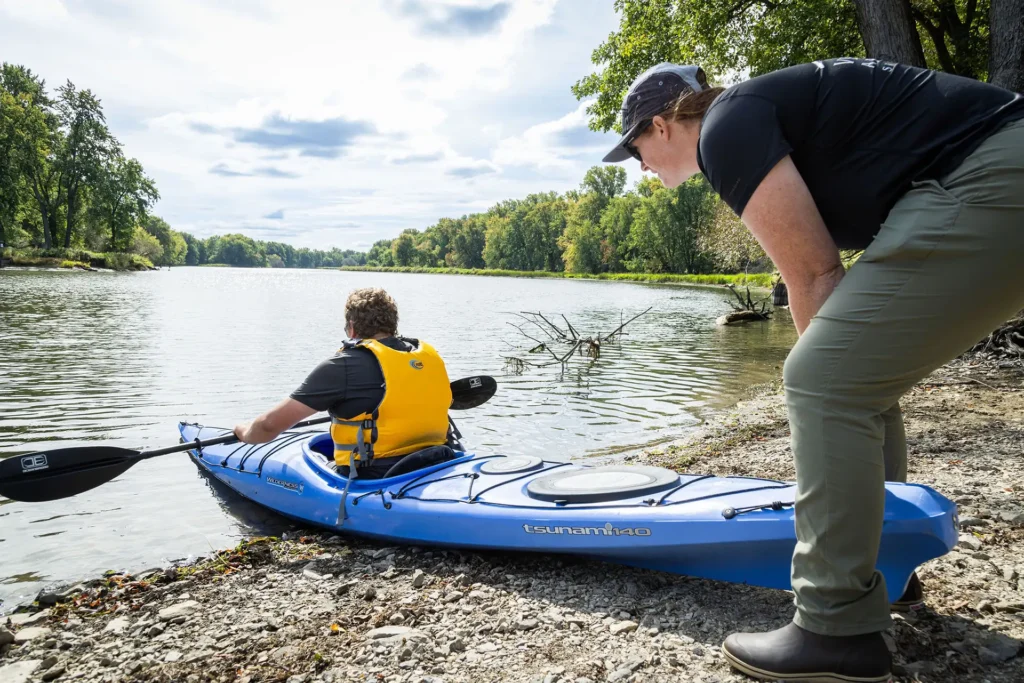
Photo credit: Sevenpair Studios
- Install benches or rest areas near launch zones to support transfers and rest.
- Provide secure storage (e.g., bike rack–style) for wheelchairs or mobility devices while paddling.
- Lay packed gravel or crushed-stone pads at staging areas and shoreline access points.
- Build a simple cribbed transfer pad by using 6×6 timbers filled with crushed stone to create a stable, flat landing.
- Provide transfer boards as part of the facility so paddlers can independently scoot from a wheelchair onto their boat.
- Deploy Mobi-Mats or Access Tracks on soft terrain like sand to create stable paths.
- Add clear signage and upload detailed site information (distance, slope, launch type, restrooms) to your website and/or trail platforms and apps.
- Install shade structures or identify natural shade near staging and transfer areas.
- Offer floating or beach wheelchairs, when feasible, in partnership with community organizations.
Floating vs. Sand-Only Beach Wheelchairs
In addition to accessible aquatic launch sites, some Vermont State Parks and other recreation facilities offer equipment to help people access water.
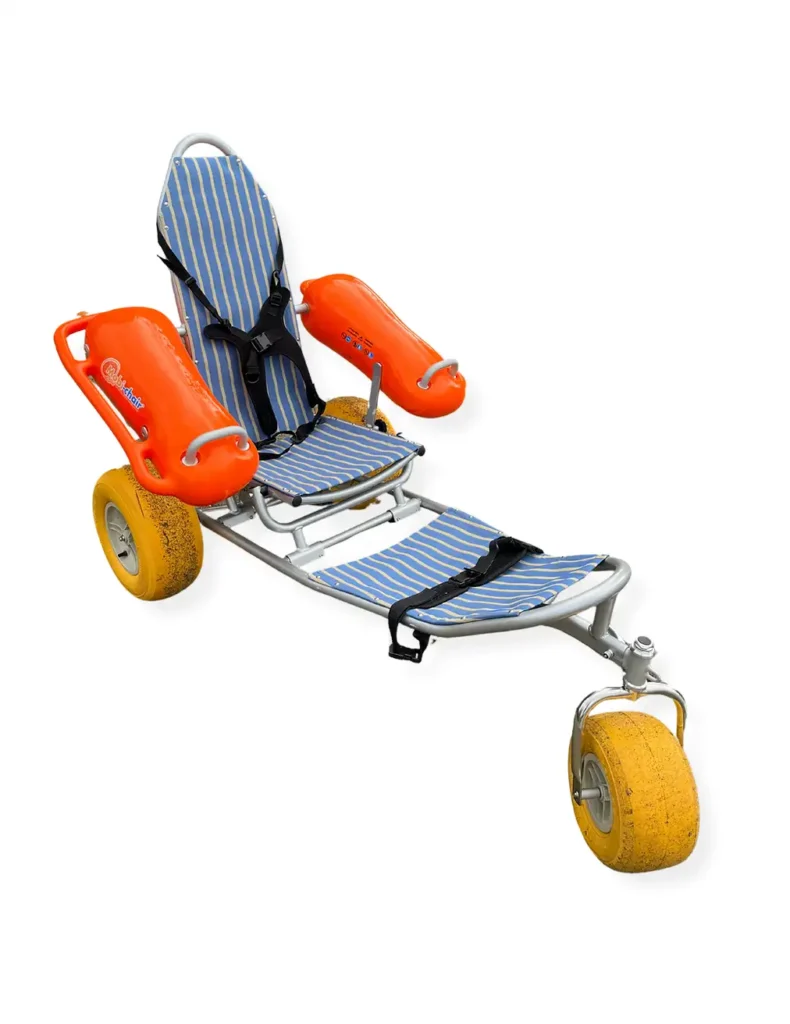
- Floating (water-entry) wheelchairs are designed to roll into the water and float, often equipped with buoyant armrests. They allow users to safely enter the water — usually with assistance and safety gear.
- Sand-only beach wheelchairs feature wide, balloon tires that navigate soft sand but are not designed for water entry.
Examples
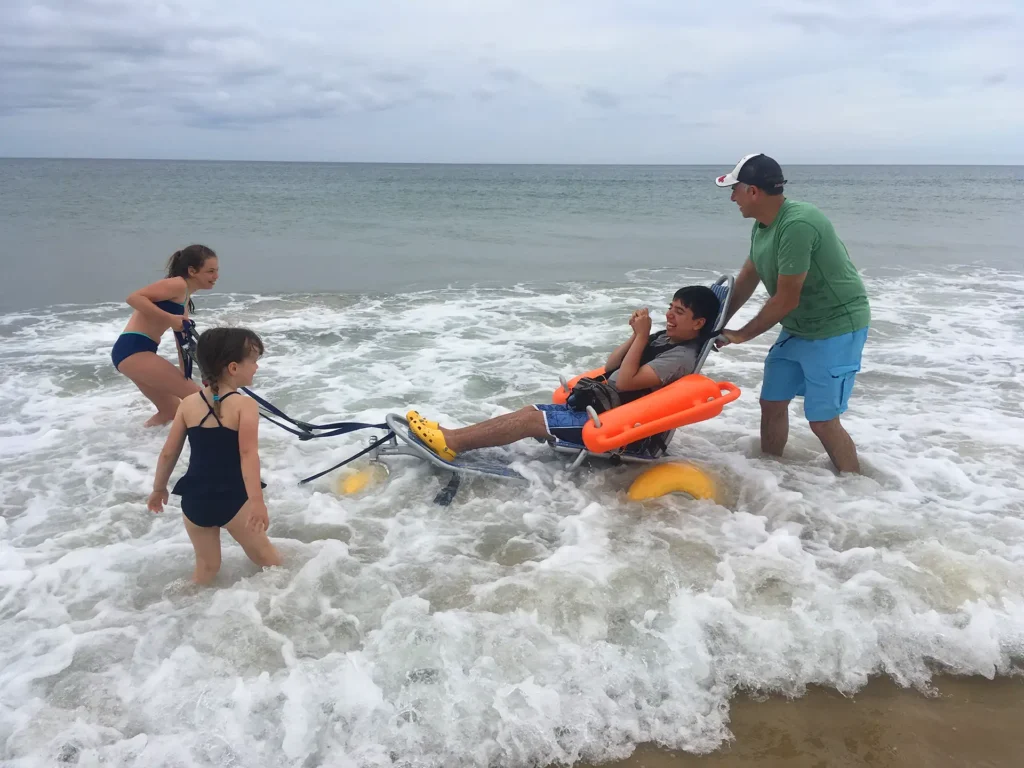
Massachusetts: SMILE Mass has donated floating beach wheelchairs to public beaches and ponds across New England. For a list of locations by state and town, see the SMILE Mass website.
Vermont: Vermont State Parks offer beach access wheelchairs at multiple locations statewide, available by reservation or day-use request. See the Vermont Parks Forever website for the current list of parks.
Build With, Not For
Accessible design only works when it’s informed by the people who will use it. Surveys, focus groups, and site visits show that details like safe storage for wheelchairs, rest areas, or separation from motor boat traffic are easy to overlook without direct input.
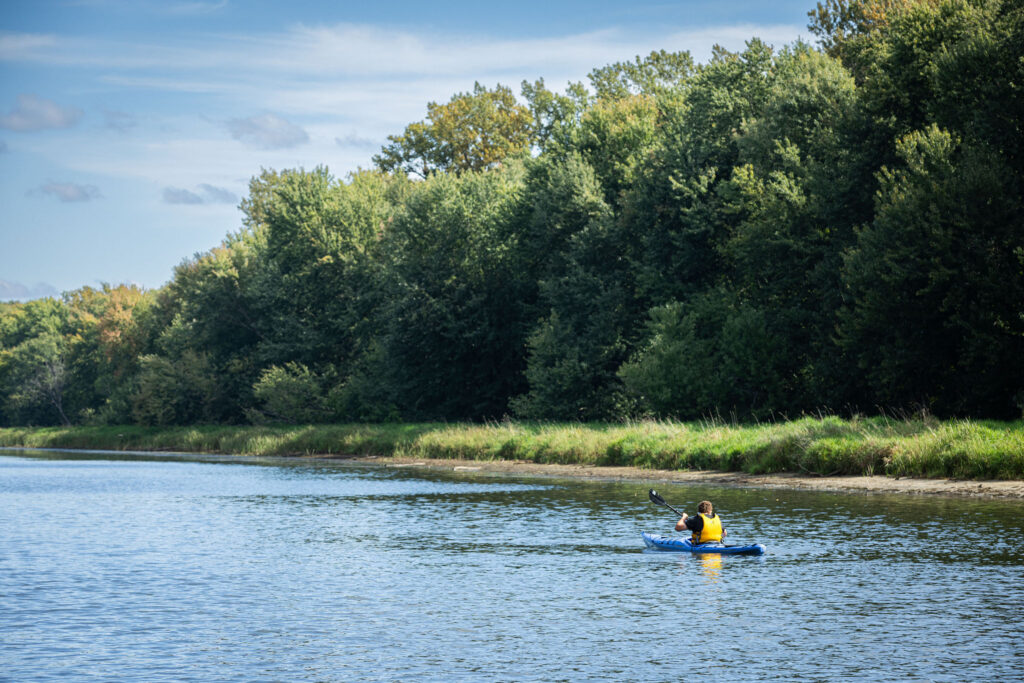
Photo credit: Sevenpair Studios
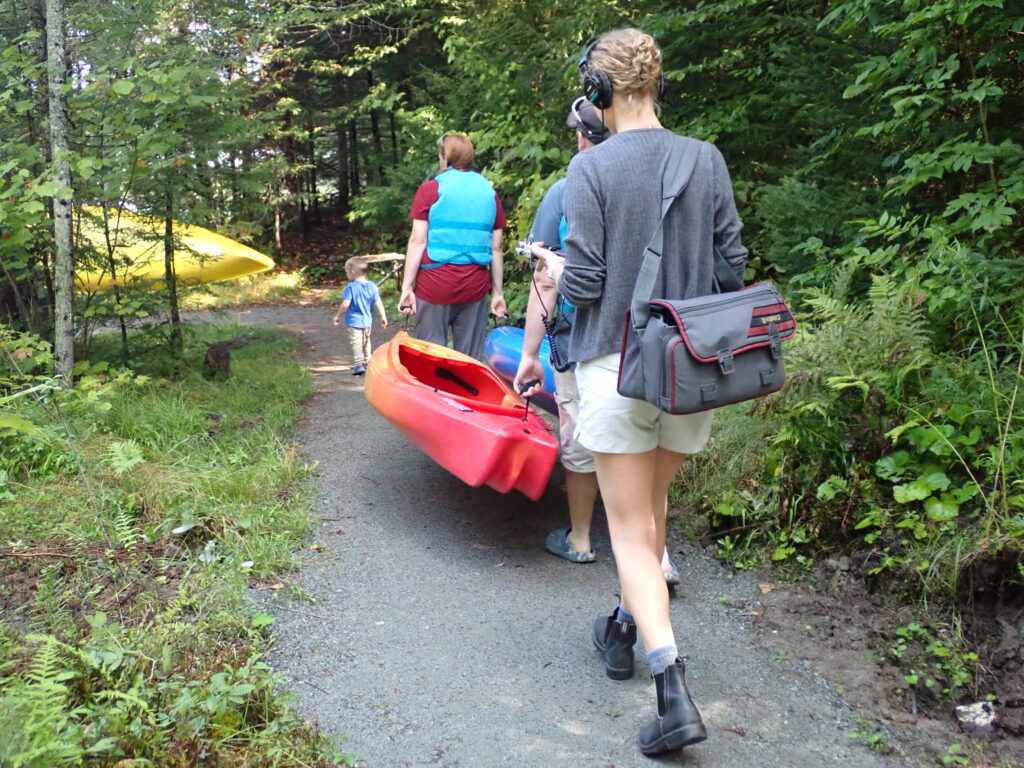
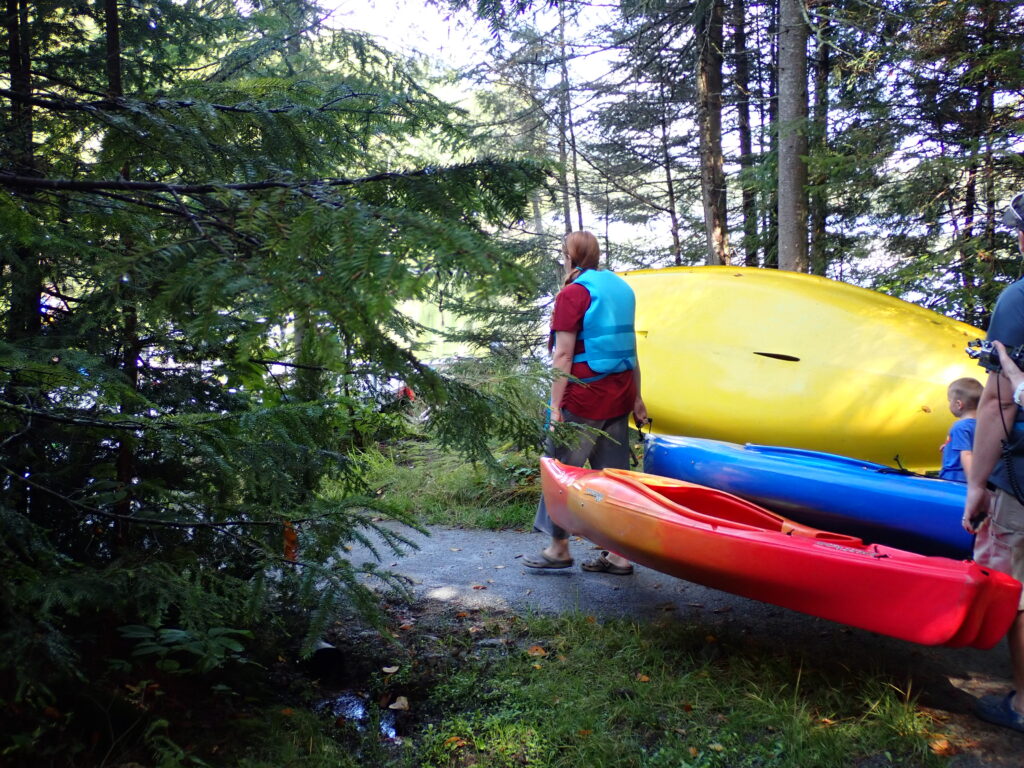
Partnerships with adaptive paddlers, local outfitters, and organizations like Vermont Adaptive bring valuable expertise and lived experience. Involving professionals such as physical therapists or social workers can also help identify equipment needs and connect new paddlers to opportunities.
Not every solution works for everyone. Some paddlers find commercial dock systems useful, while others cannot use them due to strength or balance limitations. Providing multiple options — and clearly describing what’s available at each site — allows people to choose what works best for them.
Information & Communication
For many paddlers, the biggest barrier isn’t the water — it’s the unknown. Clear, detailed information can make or break a trip.
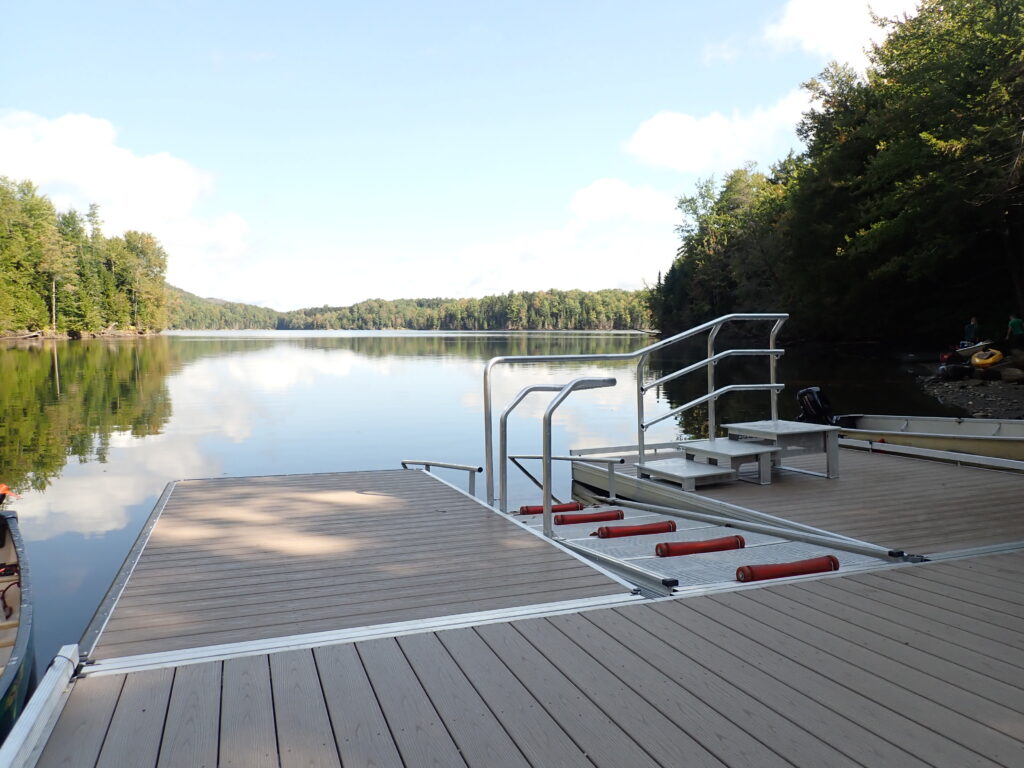
Photo credit: Sevenpair Studios
What to Share
- Distance from parking to the launch
- Surface type and slope of the path
- Type of launch (beach, dock, ramp, transfer system) and any available equipment
- Availability of restrooms, picnic areas, or shade
- Locations of rest stops and portages along a route
- Safety details: current conditions, motor boat traffic, cell service
- Parking details, including whether lots can accommodate trailers or group vehicles
- Updates about closures or ongoing projects prevent wasted trips and frustration.
- Videos and photos of launches or sample routes reduce uncertainty and fear, especially for newer paddlers.
Where to Share
- Post information on centralized platforms like Trail Finder or your organization’s website.
- Use on-site signage to confirm details such as accessible paths, staging areas, or storage options.
- Partner with outfitters and adaptive sports groups to spread updates through their networks.
Related Reading



Accessibility vs. Access
Access and accessibility are often used interchangeably, but they mean different things. Understanding the distinction is essential for building inclusive outdoor spaces.
FAQs
A: The Trail Accessibility Hub is a partnership of trail organizations and disabilities advocates dedicated to improving accessibility on public trails and outdoor recreation areas in Vermont for people with disabilities. The Hub was created in 2024 by Vermont Trails & Greenways Council in partnership with the Upper Valley Trails Alliance, Vermont Mountain Bike Association, Vermont Adaptive Ski and Sports, Northern Forest Canoe Trail and Trail Finder. VTGS hosts web–based resources that educate trail managers and support trail users. Together, the partnership hosts networking opportunities that connect partners and trail users to accessible trail design and maintenance information, trail grants and funding sources; provide trail assessments and more. Initially funded by the Vermont Outdoor Recreation Economic Collaborative (VOREC) Community Grant Program, the TAH is now seeking funding to continue in ‘26 and beyond.
A: Our Trail Accessibility Hub includes a helpful guide to finding wheelchair friendly trails and other types of outdoor recreation that are accessible to all persons. In this guide, you’ll find recommendations for accessible trail apps—like Trailfinder, Google’s ADA Map, and All Trails—as well as blogs and articles about disability friendly trails, accessible activities, and accessible travel resources in Vermont.
A: Trail Finder’s Accessible Experience Search is the easiest way to discover family-friendly outdoor activities that work for a wide range of ages and abilities. You can filter for pedestrian trails, biking routes, paddling access, walking paths, and nature centers that include accessibility details—such as surface type, slope, amenities, rest areas, parking, and restrooms. Many of the listings also note features that make outings easier for families, like stroller-friendly surfaces, short loop options, shade, picnic areas, and nearby playgrounds or educational programs.
A: Mobility equipment and other adaptive sports equipment—like aquatic equipment, all-terrain wheelchairs, adaptive paddling gear, adaptive mountain bikes, and more—can be purchased, rented, or borrowed through several adaptive sports organizations and programs in Vermont. Some of these organizations offer grants to help users purchase mobility equipment. Visit our helpful guide to learn more about the organizations offering these services.
A: Here in Vermont, several companies and organizations specialize in building accessible and adaptive trails. These experts can help make mountain bike trails more usable by people on adaptive equipment, improve aquatic access trails, suggest easy improvements to make pedestrian trails usable by people who may have visual impairments, or use walkers or canes, and ensure your trail project meets ADA accessible trail guidelines and standards. The full list is available on our Professional Trail Builders page.
A: Yes, there are private and public funding sources that can be used to improve trail accessibility. Two popular funding sources in Vermont include the FPR Recreation Trails Program (RTP), and the VOREC Community Grant Program. There is also federal funding for trails and recreational paths. Vermont Trails & Greenways Council continuously monitors available grants and funding sources to support your accessible trail project or other accessible outdoor recreation project. Available trail grants and other resources can be found here.
A: The short answer is, no. The two nationally recognized guidelines for defining trail accessibility are Access Board Guidelines (National guidance applying ADA/ABA principles to outdoor spaces) and the U.S. Forest Service Trail Accessibility Guidelines (FSTAG). Many trails can be greatly improved without being fully compliant with these guidelines. Small, low-cost improvements can still have a big impact. For example, improved parking and trail information at the trailhead, benches and resting spots, and removing tripping hazards can help parents with young children and people who use mobility devices like canes and walkers enjoy trail-based activities. You can learn more about guidelines for building accessible and adaptive trails here.
A: A sensory trail is a trail designed for people living with autism or a neurodivergence. Trails designed with these users in mind typically include sensory-friendly spaces or “alone zones,” predictable and consistent pathways, a video preview of the trail, interactive stations with tactile, auditory, or visual elements, and wayfinding support. Any and all of these features help reduce anxiety and provide an accessible nature experience for neurodivergent trail users.
A: The gold standard for accessible trails include: a minimum 36-inch width with 5-foot passing areas every 1,000 feet (preferably 5 feet throughout), slopes following U.S. Forest Service guidelines that allow up to 5% unlimited distance, 5 to8.33% for up to 200 feet between rest areas, and steeper grades up to 12% for shorter segments with mandatory rest stops. Trails should use hardened multi-layer surfaces like compacted hardpack with crushed stone base, feature accessible parking within 2% slope near the trailhead, include frequent benches with wheelchair space, and provide clear signage with trail information, safety barriers at viewpoints, and accessible restrooms connected by firm pathways. For more detailed information about ideal standards for trail accessibility, click here.
A: A good place to start is to talk with trail managers and disability advocates in your region to share your interest and learn about current projects. While it can be daunting to consider building a new trail, there is strong momentum in the state right now and a lot of helpful resources to get you started. You can find ideas for low-hanging fruit on the Trail Accessibility Hub web pages, attend networking events and workshops, and visit trails being built. Sign up for VTGC’s enews, and we’ll keep you updated. Still have questions? Feel free to contact us at info@ermonttgc.org.
